

The final walkthrough of an exterior paint project is one of the most important moments of the entire job. If you’re doing an exterior painting quality check in Orange County and you’re not sure what to look for, you’re not alone. Most homeowners feel underprepared at this stage, and some feel awkward speaking up even when something looks clearly wrong. Knowing the bad exterior paint job warning signs before you sign off is what separates a confident homeowner from one who’s calling a contractor six months later to fix avoidable problems. Our team at Rock & Rollers Painting handles exterior house painting across Orange County, and what follows is exactly what I’d walk you through before you hand over final payment.
Key Takeaways
- Most exterior paint failures trace back to prep work, not the paint brand, and many signs show up at final walkthrough.
- You can catch workmanship defects like runs, uneven coverage, and overspray before signing off.
- Some red flags are subtle: pinhole pitting, wavy cut lines, and uncaulked gaps, but they lead to early failure.
- OC’s climate (strong UV, coastal salt air, and temperature swings) makes poor prep and thin coverage especially costly here.
- A clear, organized inspection approach helps you speak up with confidence instead of second-guessing yourself.
- You have every right to request corrections before making the final payment.
Why the Walkthrough Matters More Than Most Homeowners Realize
A freshly painted exterior always looks better than it did before the crew arrived. That first impression makes it easy to assume everything went well. The problem is that some of the most costly bad exterior paint job warning signs are easy to miss in that first excited look. 
According to Sherwin-Williams, up to 80% of all coating failures can be directly attributed to inadequate surface preparation, which directly affects how well paint bonds to the surface. That means most of what eventually goes wrong- peeling, blistering, early fading- was set in motion before a single gallon of paint was opened. The walkthrough is your window to catch the evidence of those shortcuts before they become your problem to fix.
The signs of a bad paint job sort into two groups: workmanship problems that show up right away (roller marks, drips, uneven sheen, ragged cut lines, overspray), and material and preparation failures that appear later (blistering, cracking, chalking, and paint peeling off in sheets). At the walkthrough, you can catch the first group. The second group often develops over months. Both matter, and both deserve your attention.
Bad Exterior Paint Job Warning Signs You Can Spot Right Away
These are the most visible and most common defects to check during your walkthrough. Walk the entire perimeter of your home in good natural daylight, not at dusk and not with your phone camera. Take your time with each surface.
Runs, Drips, and Sags
Runs happen when you apply too much paint in one spot and gravity does the rest. Look for teardrop shapes or long vertical streaks on your siding, fascia boards, window casings, and doors. A single run on a front door or window trim signals rushed application and should be corrected before sign-off.
Workmanship problems like roller marks, drips, and uneven sheen show up immediately; a decent contractor will fix them. If they resist, note it.
Uneven or Patchy Coverage
Stand back from each wall and look across the surface rather than straight at it. A professional paint job should look consistent in morning light, afternoon sun, and evening shade; patchy or uneven color is a clear red flag.
Spots where the old color bleeds through, thin sections, or areas with visible brush or roller texture that other areas don’t have all count as warning signs of a bad exterior paint job related to coverage. Insufficient coats or poor roller technique usually cause this.
Brush Marks and Roller Lines
Visible brush strokes along trim or roller lines across walls usually mean the paint wasn’t applied evenly. Poor technique, the wrong roller nap, or letting paint partially dry before blending can all create noticeable streaks.
Run your hand lightly along flat surfaces. A correctly applied finish coat on smooth siding should feel uniform. Raised ridges, obvious lap marks, or stippling in some sections with a smooth finish in others are signs corners were cut.
Pinhole Pitting
Tiny air holes scattered across the painted surface are one of the sneakier bad exterior paint job warning signs. These small imperfections often emerge when an insufficient number of paint coats have been applied, reflecting a lack of care in the painting process. They can also happen when you paint in direct sun, and the surface is too hot, causing the paint to skin over before air can escape. Run your hand across the wall in a shaded area and feel for texture that shouldn’t be there.
Overspray and Poor Masking
Check every surface the crew wasn’t supposed to paint: windows, light fixtures, door hardware, concrete walkways, roof shingles, and brick. If the painter was working on the walls and there are splatters on the surrounding areas, it means proper masking was not done, an indicator of a poorly done job.
Overspray on glass, window screens, or adjacent trim is a workmanship defect that must be corrected before you accept the work. If you’ve already signed off, removing dried paint from these surfaces after the crew is gone is your headache, not theirs.
Bad Exterior Paint Job Warning Signs Hidden in the Details
These are the spots most homeowners overlook during a first walkthrough. They’re small, but they’re often where early failures start. 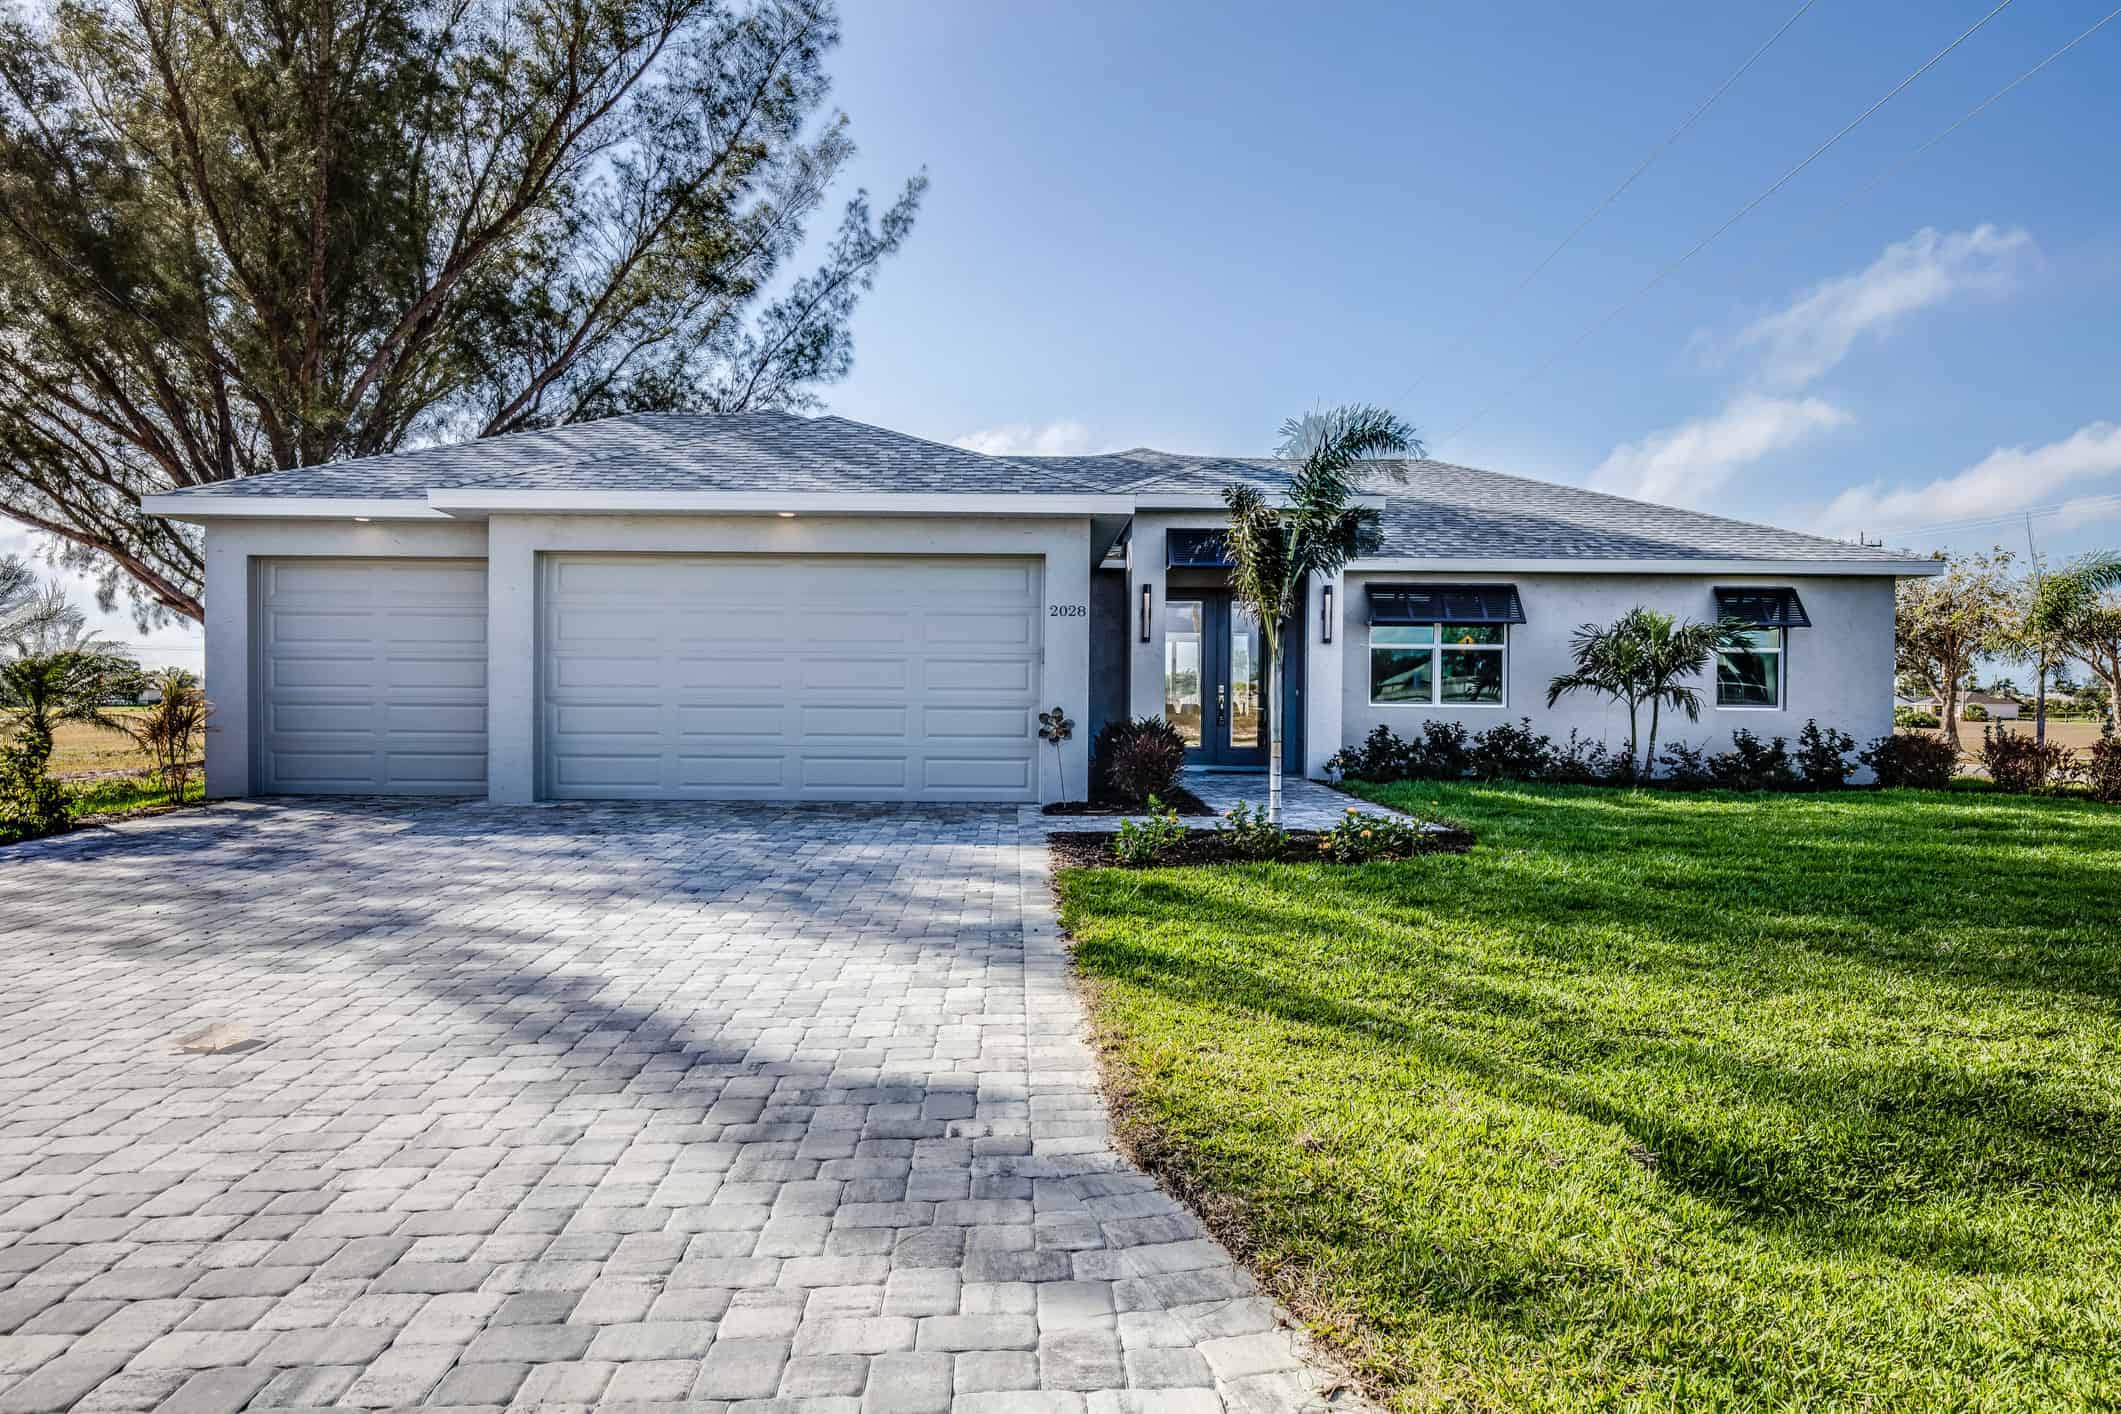
Trim and Cut Lines
The lines between surfaces- wall-to-trim, siding-to-fascia, corner-to-corner- should be clean, straight, and sharp. Wavy lines clearly indicate poor technique.
Crooked cut lines around windows and doors tell you that the painter either rushed or skipped tape entirely. In OC homes with multiple colors or accent trim, clean cut lines are part of what you’re paying for. Fuzzy or wandering edges should be on your correction list.
Caulk Gaps and Unsealed Joints
Check every joint where two surfaces meet: window frames, door casings, trim-to-siding seams, and any penetrations in the wall surface. Caulking gaps around windows, doors, and trim joints matters; once caulk shrinks and pulls away, water gets behind the paint at the edges even if the paint looks fine.
Any gap left uncaulked before painting becomes an opening for moisture. In communities like Newport Beach and Laguna Niguel, where coastal salt air accelerates moisture-related damage, unsealed joints are especially costly to ignore. Read more about why exterior paint fails from moisture damage in these areas specifically.
Missed Spots and Thin Areas
Walk close to each surface and look at it from an angle. Areas with thin coverage often look slightly different in sheen, more matte in a satin finish, or slightly translucent in a flat finish. Pay special attention to:
- The undersides of window sills and ledges
- The back edges of fascia boards
- The bottom foot of siding near the foundation
- Corners and inside angles on trim
These spots are inconvenient to paint and are often rushed or skipped entirely. They are also exactly where water gets in first.
Surface Prep Evidence
Ask your contractor directly: Can you show me photos or documentation of the prep work? A professional crew should clean the surfaces, scrape loose material, sand edges, spot-prime bare wood, and caulk before the first coat goes on. A proper prep process includes washing the siding, removing loose paint, sanding rough edges, spot-priming bare wood, and sealing gaps. Skipping prep may save time upfront, but it often leads to peeling, cracking, and repainting sooner than expected.
If the crew arrived and the paint was on within a few hours, that’s a concern. According to industry research published by CoatingsPro, a widely cited figure is that 75 to 85% of all coating failures result from improper surface preparation. That number alone should tell you how much rides on prep work being done correctly.
A Surface-by-Surface Inspection Table
Use this as your checklist during the walkthrough. Bring your phone to photograph anything that needs attention.
| Surface | What to Check | Red Flag |
|---|---|---|
| Siding/stucco walls | Even color, no thin spots, no runs | Patchy sheen, visible old color, drips |
| Fascia boards | Full coverage including undersides | Thin or missed edges, bare wood showing |
| Window and door trim | Clean cut lines, caulk present | Wavy edges, paint on glass, gaps at joints |
| Doors | Smooth finish, no brush marks | Heavy texture, runs, missed edges or panels |
| Eaves and soffits | Full coverage, no overspray on roof | Thin paint, shingles or roofing discolored |
| Railings and shutters | Even finish on all sides | Back sides bare or poorly covered |
| Foundation/bottom of walls | Paint applied down to proper height | Bare wood or stucco at base |
| Concrete, walkways, fixtures | Clean, no overspray | Paint spatter on pavers, hardware, lights |
What to Do When You Spot a Problem
Finding a bad exterior paint job warning sign at the walkthrough doesn’t mean you have a fight on your hands. Most reputable contractors expect a punch list and will address corrections before closing out the project. Here’s how to handle it cleanly: 
- Write it down before the crew leaves. A verbal list is easy to forget. Walk with a notepad or open the notes app on your phone.
- Take photos of every defect, ideally with something for scale next to it.
- Be specific. “The right side of the living room window has a 3-inch run on the casing” is much more useful than “some of the trim looks off.”
- Ask for a written correction list and a timeline for when the work will be done.
- Do not make final payment until corrections are completed and re-inspected.
If a contractor pushes back aggressively on legitimate issues, that’s itself a red flag. A crew that takes pride in their work will want the finished product to hold up. Our team at Rock & Rollers Painting backs every exterior project with a 5-year workmanship warranty, so we have every incentive to get it right the first time, and to fix anything that falls short before we call the job done.
How This Applies Specifically to Orange County Homes
OC’s climate creates conditions that punish poor prep and thin coverage faster than most homeowners expect. The combination of intense UV exposure and coastal moisture is unforgiving on siding, stucco, and wood.
Homes in Anaheim Hills and Coto de Caza deal with hot, dry summers that cause improperly cured paint to crack and separate at joints. Homes near the coast, Newport Beach and Laguna Niguel, face salt air that eats through thin paint film quickly, especially on north and west-facing walls. A quality exterior paint job in this region needs to be built on thorough prep, and the walkthrough is your last chance to verify it.
Power washing is also a non-negotiable prep step out here, but it has to be done right. Painting over a surface that’s still holding moisture from a wash is one of the more common mistakes. We wrote about why power washing before painting can go wrong if you don’t respect the timing. This is relevant if your project included a wash and you’re not sure when the paint went on.
What a Good Exterior Painting Walkthrough Looks Like
Not every contractor conducts a formal walkthrough, but the ones doing quality work typically do. Here’s what to expect from a crew that takes the process seriously:
- They walk the job with you, not behind you.
- They point out anything they noticed or corrected during the project.
- They bring touch-up paint and address small items on the spot.
- They provide the color formulas and paint product information used on your home, which is useful if you ever need to spot-match.
- They review the warranty terms with you so you know what’s covered and how to reach them.
Our exterior painting service includes all of this as standard. The walkthrough is part of the job, not a favor.
What Comes After Sign-Off
Even after a clean walkthrough, your exterior paint job isn’t fully cured. Paint takes time to cure completely, sometimes up to 30 days, and during this period several problems can surface that point to quality issues.
Keep an eye on the surfaces over the first few weeks, particularly:
- South and west-facing walls, which get the most UV exposure
- Window and door trim, where temperature swings test adhesion
- Any areas that were previously peeling or blistering, which can be early indicators of prep failures
If something appears within the first 30 days, contact the contractor immediately. With a 5-year workmanship warranty from Rock & Rollers Painting, you have a clear path to resolution rather than a guessing game.
Don’t Wait Until Something Goes Wrong
The bad exterior paint job warning signs covered in this post are things you can check yourself, right now, before signing off. You don’t need a contractor’s eye to spot a run on a fascia board or overspray on a window. You do need to slow down, walk the full perimeter, and look at each surface with purpose.
If you’re planning an exterior paint project in Irvine, Newport Beach, or anywhere across Orange County, or if you want a second opinion on work that’s already been done, Rock & Rollers Painting is here to help. Our team uses a 5-step process built around thorough prep, quality product selection, and a detailed walkthrough with every client.
Schedule your free consultation today to see what a properly finished exterior looks like from the inside out. Call us now at 949-806-3205. When it comes to bad exterior paint job warning signs, getting the details right from the start is what saves you time and money.