If you’re trying to figure out how to paint trim as part of your interior house painting in Costa Mesa, CA, you’re in the right spot! Freshly painted trim can completely transform a room, giving it a crisp, clean, and professional feel. One of our clients in Newport Beach shared how their living room instantly felt brighter and more elegant after we completed their trim painting.
Whether you tackle the project yourself or hire a professional house painter, knowing the right techniques makes all the difference.
Key Takeaways
-
Properly preparing trim prevents messy drips and gives a polished, professional finish every time.
-
Choosing high-quality trim paint ensures smooth, long-lasting results for years of wear.
-
Using the right brush and caulk makes achieving sharp edges faster and easier.
-
Careful taping around trim saves time and produces crisp, clean lines.
-
Allowing adequate drying time between coats prevents streaks and creates flawless trim finishes.
Materials You’ll Need for Interior House Painting
Before starting, gather all tools and materials. Having everything ready keeps the project moving smoothly and ensures the best results.
|
|
Step-by-Step Guide on How to Paint Trim
Painting trim may seem minor, but it can transform the appearance of your rooms. Here’s how to paint the trim professionally.
Prepare Your AreaProtect floors and furniture with drop cloths or plastic sheeting. One Costa Mesa client mentioned how surprised they were that their living room stayed completely clean during the project. Proper preparation prevents paint spills and saves time on cleanup. |
|

|
Fill Nail Holes and CracksTrim often has small imperfections. We used wood filler and a putty knife to smooth out cracks and nail holes in a Newport Beach home. The client loved how smooth the trim looked before even applying the paint, which made the final coat flawless. |

|
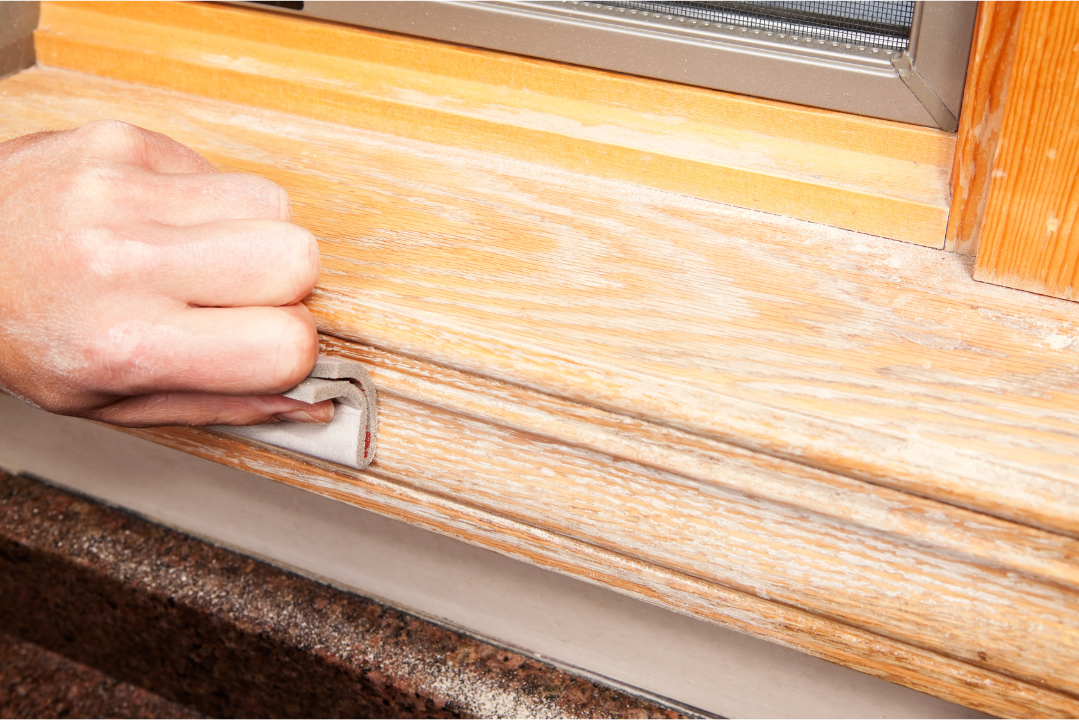
Sand the TrimLightly sanding all trim surfaces removes gloss and rough spots. Our clients often notice a big difference in finish quality after we sand old trim, and they appreciate how it helps the trim paint adhere better and look even. |

|
Clean the TrimDust and grease prevent paint from sticking. Cleaning with microfiber cloths and TSP ensures a pristine surface. One client said they were amazed at how clean the trim felt before painting—it made the room feel brighter immediately. |

|
Apply CaulkCaulking small gaps between trim and walls gives sharp edges. We often hear from clients how this small detail makes the room look professionally finished. Smooth caulking makes the trim edges appear seamless and perfectly lined. |

|
Tape the TrimPainter’s tape is applied carefully along both sides of the trim. Clients frequently comment on how crisp their lines look after we remove the tape, noting that it would have been hard to achieve this level of precision on their own. |

|
Prime the TrimPrimer helps trim paint stick and prevents color bleed-through. Many clients mention that using a primer ensures the final color is vibrant and consistent across all surfaces, giving the trim a clean, even look. |

|
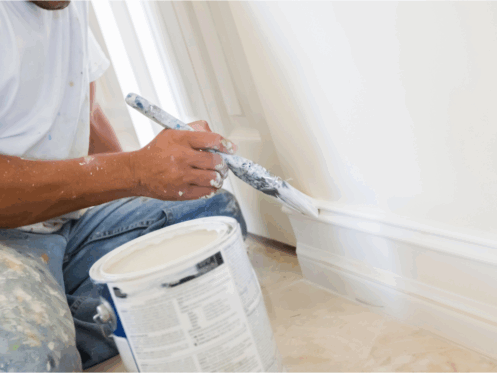
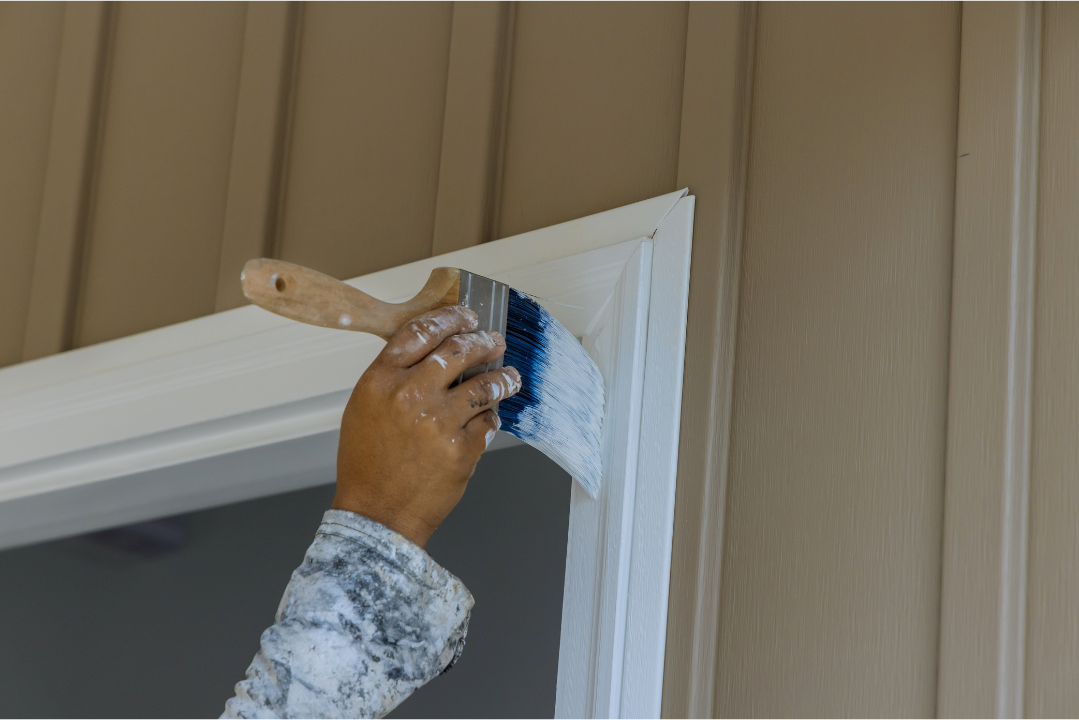
Paint the Trim (2 coats)Using a 2-inch angled brush, we apply thin, even strokes. One client in Laguna Beach shared how the first coat alone already improved the overall look of their room, and they were excited to see the finished result after the second coat. A second coat ensures full coverage and a polished finish. Many clients say that this step transforms the trim from “good” to “wow,” providing a sleek, professional appearance that highlights the room’s architecture. |

|
Remove Painter’s TapeAfter the paint dries to the touch, tape is removed at a 90-degree angle. Clients are often impressed by the clean lines and how simple it looks when done by a professional house painter. |
Tips for Flawless Trim Painting
|
|
Why Painting Trim Properly Matters
Well-painted trim frames your walls and ceilings. Even small mistakes are noticeable, which is why preparation and the right tools matter. One Costa Mesa client said the freshly painted trim made their whole home feel more cohesive and high-end, demonstrating how small details can have a big impact. Whether you’re doing it yourself or hiring a professional house painter, these steps guarantee a clean, polished finish.
Finishing Touches: Making Your Trim Painting Shine
Painting trim can completely change the look and feel of your home. Many clients, from Newport Beach to Laguna Beach, have been surprised by how much difference professionally painted trim makes. Smooth edges, consistent color, and flawless lines instantly elevate a room. One client mentioned how they finally felt proud to host guests after we completed their trim—it made every wall pop and the entire space feel refreshed. Hiring a skilled team ensures every detail is perfect, saves you time, and guarantees results that last.
For homeowners in Costa Mesa, CA, Rock & Rollers Painting is ready to handle all your interior house painting needs. Our experienced interior house painters provide smooth, even finishes on trim, baseboards, and other woodwork with minimal disruption. We serve Costa Mesa, Newport Beach, and Laguna Beach, offering free estimates and professional results.
Call Rock & Rollers Painting today at 949-806-3205 for a FREE estimate.